The Contractor Shingle Installation Process
Replacing your roof is a big investment and the process can seem overwhelming if you don’t know what to expect. From selecting the right roofing contractor to the final cleanup, there are several crucial steps to ensure a smooth and successful installation.
This guide will walk you through the entire contractor shingle installation process — from the initial consultation to the final inspection — so you can be prepared at every stage.
Initial Consultation
The installation process really starts when you call or submit an online inquiry to a residential roofing contractor. Think of this as a screening call — an opportunity to ask a contractor questions that give you a sense of their qualifications and expertise.
The best way to choose a roofing contractor is to do your research. Don’t just pick the first contractor that comes up on Google! Take some time to search for local contractors to get an idea of which roofer might have what you’re looking for.
Once you have some leads, it’s time to contact a few contractors. This is when you can ask more clarifying questions about the process. If you’d like help knowing what to talk about during your initial consultation with a roofing contractor, check out our checklist of questions you should ask.
The contractor will have some questions for you, too. This could include the current age and condition of your roof, the type of material used on your roof and your preferred timeline for the project.
After you’ve spoken to several roofing contractors and weighed your options, it’s time to pick one to work with so they can come over for a roof inspection.

Roof Inspection
The roof inspection is a routine part of the process, allowing contractors to get a clear picture of what your roof replacement will entail.
How expensive are roof inspections?
Most contractors offer a free inspection service since an inspection is necessary to deliver a final quote. However, some contractors charge for the inspection, so be sure to clarify any roof inspection costs before they come over.
How are inspections done?
Roof inspections are typically done in person by your contractor, allowing them to get on your roof and assess any unique needs for your roof replacement. They may also utilize drone roof inspection technology, either with their own drone or with a drone service like EagleView to capture aerial footage of your roof.
Can inspections be done at any time of day or in any weather?
Roof inspections should be done during the day with overcast or sunny weather. Inspecting a roof during or directly after rainstorms can lead to serious injury, so inspections will need to be delayed during inclement weather.
Do I need to be home for my roof inspection?
You don’t need to be home for a roof inspection, but it can be helpful. While they can climb onto your roof with a ladder or inspect it from the ground, contractors also like to inspect attics, which means you need to be there to let them in. Being available for any questions that arise about your roof can also expedite the inspection process.
Price Estimate and Contract Signing
The last detail contractors need before they can gauge a price for your replacement is the shingles you want to install (check out our guide to picking shingles if you’re having a hard time deciding). From there, they will give you a roofing estimate.
How long does a roof estimate take?
A roof estimate may take a few days to get to you, as contractors have to calculate how many shingles you’ll need, figure out how long the job will take and assess the labor cost to install the full roofing system.
Can I negotiate the price of my estimate?
If you receive your roof estimate and it’s outside your budget, don’t panic! You may be able to negotiate a deal that benefits both you and your contractor, such as creating a different payment plan or switching to materials that better fit your budget. However, sometimes these roofing estimates are set in stone, so make sure you ask your contractor ahead of time if estimate negotiations are possible.
What details are in a roof contract?
All agreements and promises from your roofing contractor should be made in writing. This signed document can offer peace of mind, giving you crystal clear information on what the contractor plans to do with your home and the amount they will charge to do the work.
Here are some essential points to cover in a contract agreement for roofing replacement:
- Warranty Details: Workmanship and manufacturing warranties are outlined for the specific shingles.
- Materials: Brand and type of shingles and accessory products used.
- Project Timeline: Estimated start and completion dates.
- Work Specifics: Roof size (squares applied) and cleanup process.
- Liability Coverage: Protection for personal injury and property damage.
- Insurance: Evidence of adequate insurance.
- Cost and Payment: Total price, terms and conditions.
- Verbal Agreements: Any additional discussed terms should be put in writing into the contract.
Roof Installation
A signed contract means it’s time for your roof to get replaced! On average, a roof replacement takes about three weeks to get started from when you sign the contract — contractors need time to pull any necessary working permits (if applicable) and place your material order. You may run into delays due to weather conditions, permit processing times or material availability from the distributor.
How do contractors prepare the roof for replacement?
Roof prepping begins the day before the job starts when your contractor delivers the roofing materials to your home. They may also be placed on one side of your driveway, so make sure you’ve left room for them (you may also want to prepare the rest of your home for your roof replacement). Some contractors also deliver all materials directly to the roof with rooftop delivery.
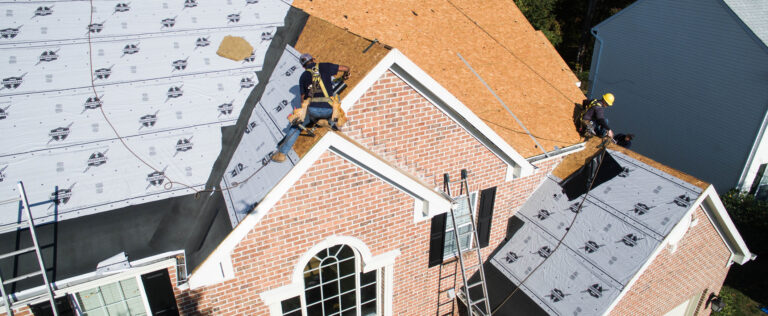
On the day of the installation, contractors will strip down your existing roof to the plywood underneath your shingles. The roof will be covered with felt or synthetic underlayment to create a moisture barrier between your shingles and the roof.
What should I expect during the shingle installation process?
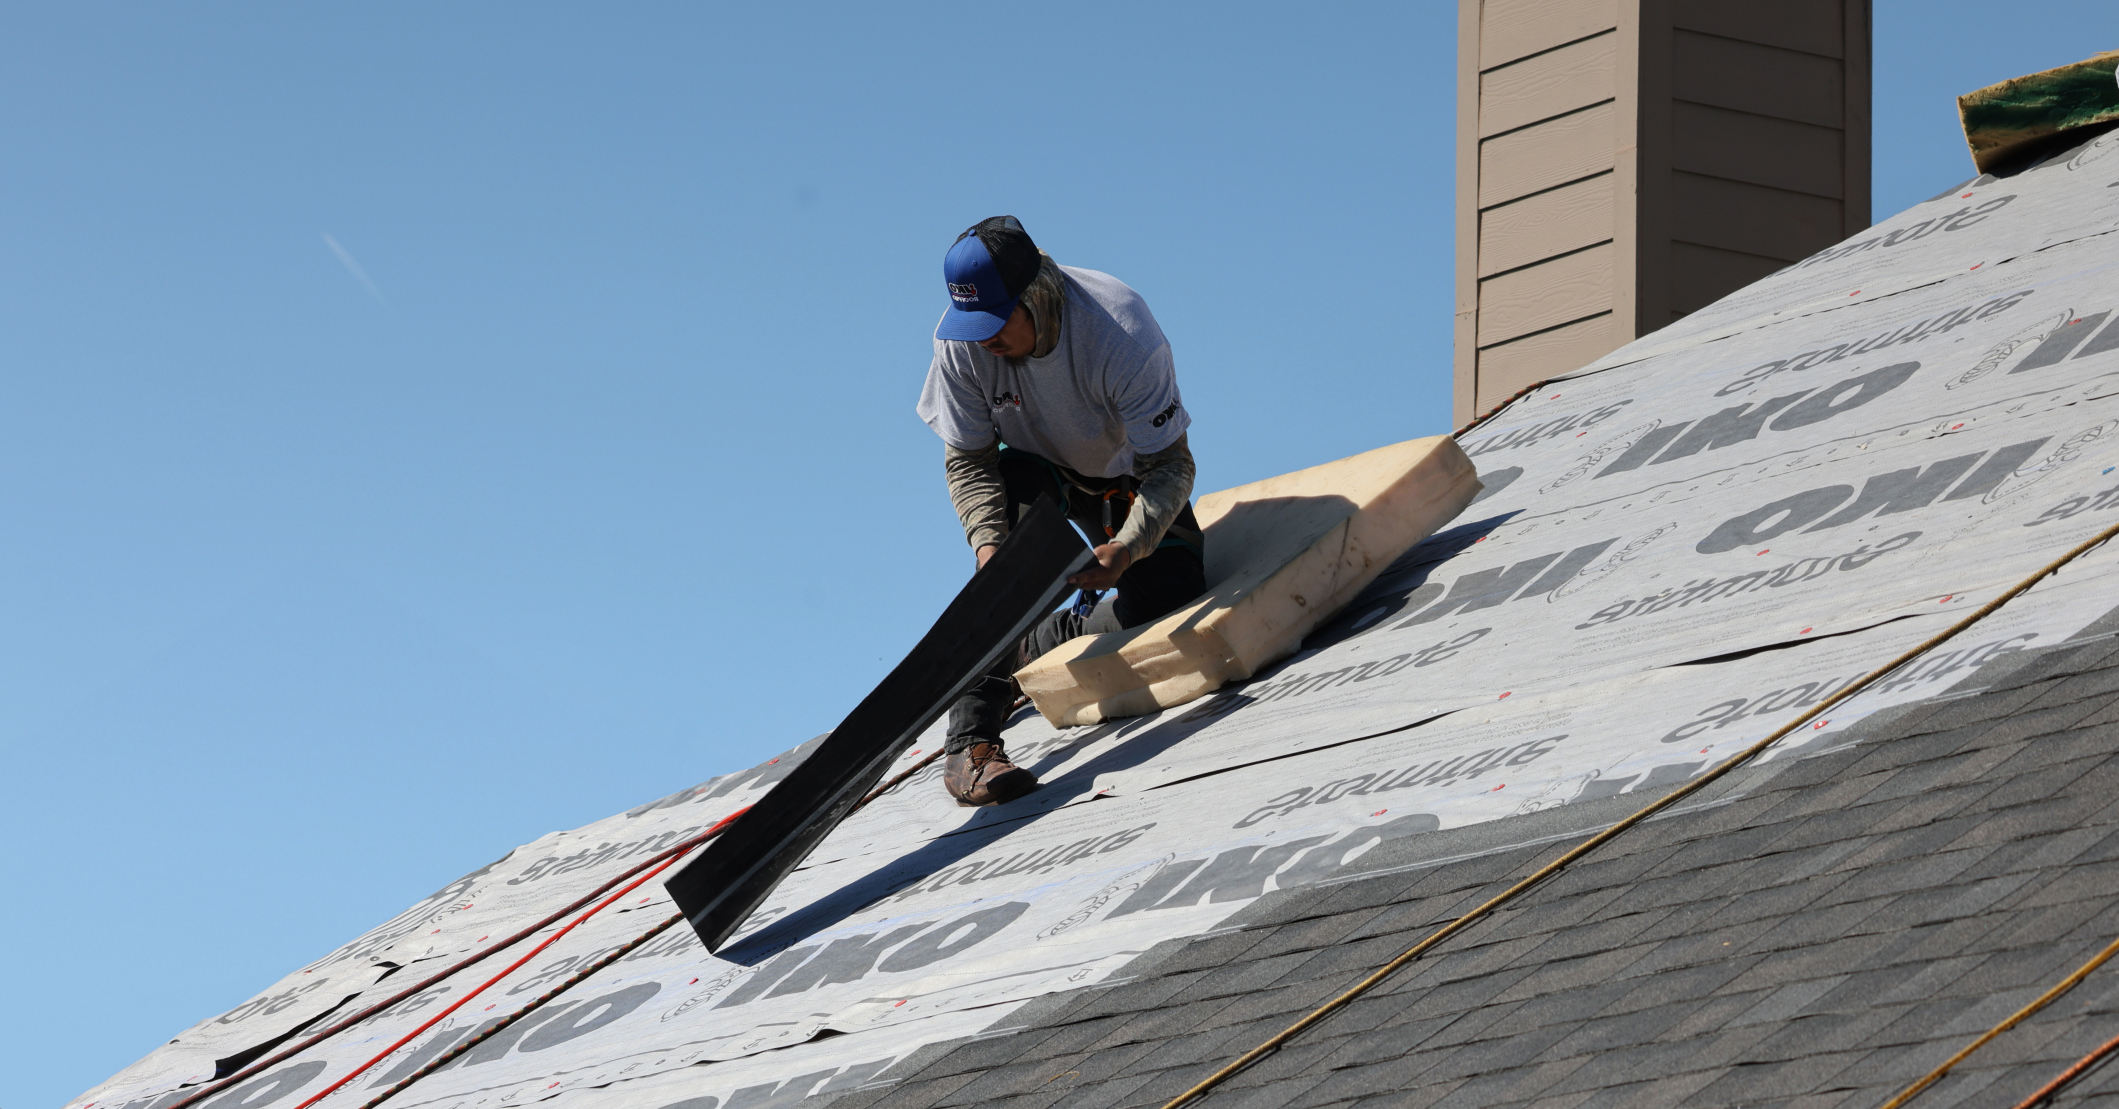
Depending on the size of your roof, it can take between one and two days to finish installing shingles. Contractors use chalk lines and precise measurements to ensure your shingles fit perfectly to prevent leaks and make your roof the talk of the neighborhood.
Though they may make it look easy, don’t think you can install a roof by yourself. Your contractor is a trained professional who has the proper tools and experience to do the job right.
What does the cleanup process look like after the job is done?
The roofing cleanup process is fairly straightforward — contractors will bring a trailer to haul away your old shingles and other roofing debris. Before they leave, they may thoroughly sweep the area with a magnet to ensure no nails are left behind. You won’t even know they were there — if it wasn’t for the brand new roof on top of your home!
Enjoy Your New Roof
Once the cleanup is complete and the contractors are finished, it’s time to relax under the solid protection of your new roof. Your contractor may want to return for one final inspection to make sure everything looks right.
If you loved the work your contractor did, leave a positive review on their website, on Google or another third party review site. If you spot any signs of improper roof installation after that inspection, contact your contractor immediately.
Ready to dive into your real-life roof replacement project? Find a roofing contractor near you today.