Introduction to Roofing Hammers and Hatchets
Table of Contents:
- Parts of a Roofing Hammer
- Features of a Roofing Hammer
- Antique Roofing Hammers and Hatches
- How to Use a Roofing Hammer
- Roofing Hammer Versus Nail Gun
- The Importance of Proper Nailing
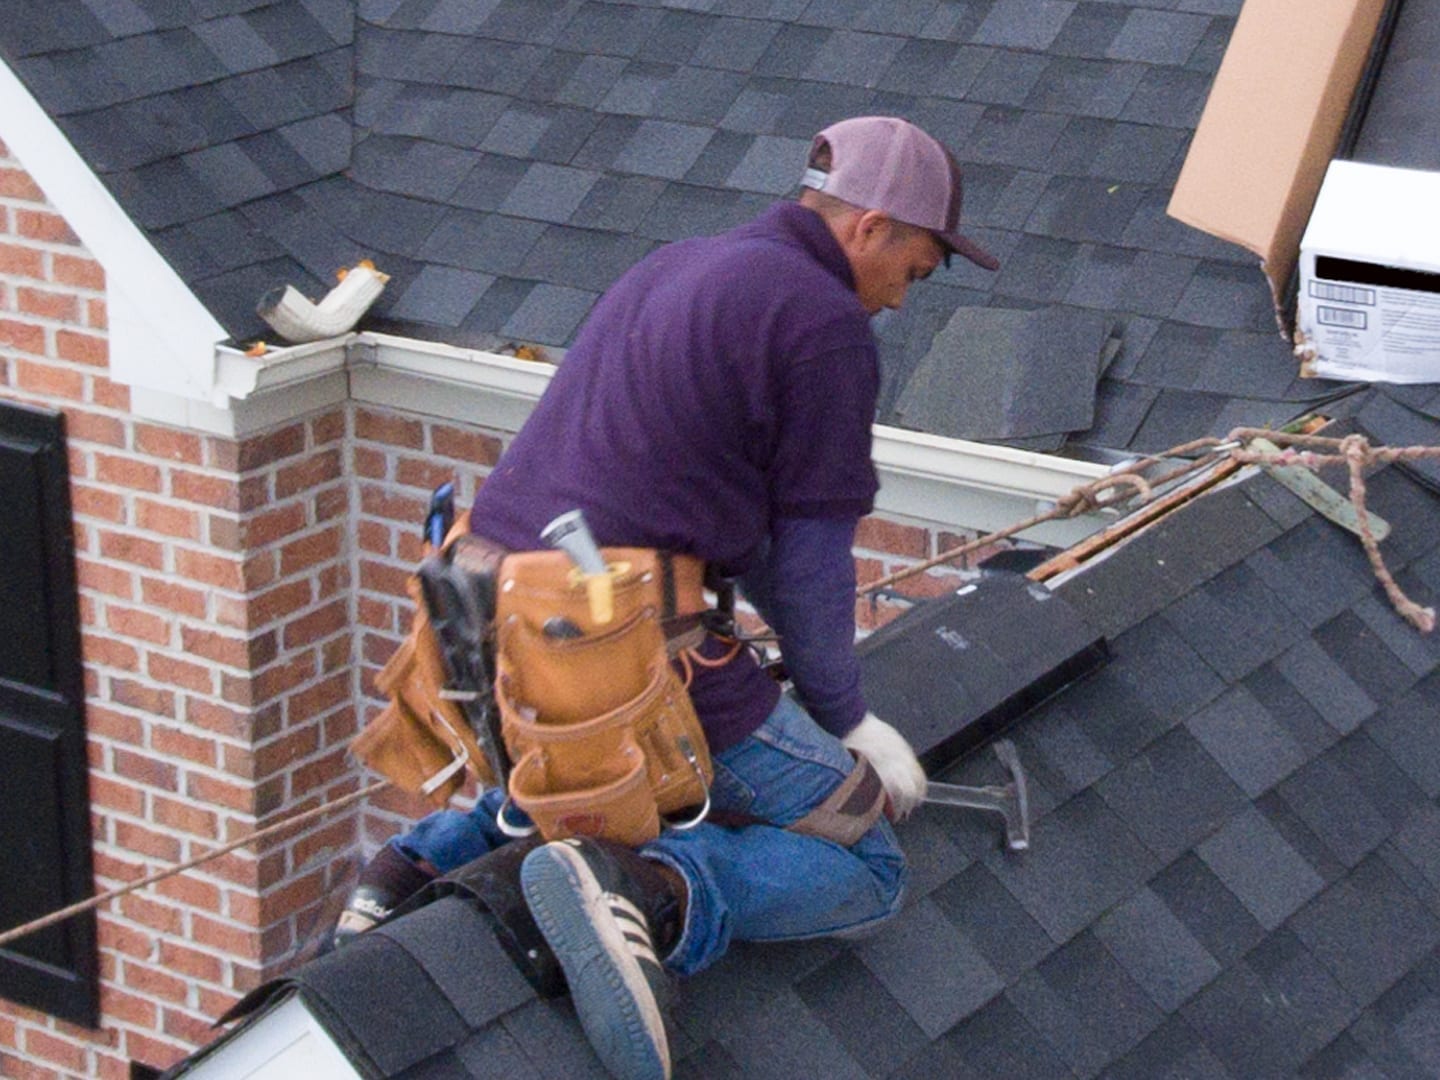
Roofing hammers and hatchets are specialized tools intended to help residential roofers cut shingles and drive nails into them. They have unique features to make this job more efficient, such as magnetized faces to help you pick up a stray nail and even gauges that help you position shingles with the right exposure.
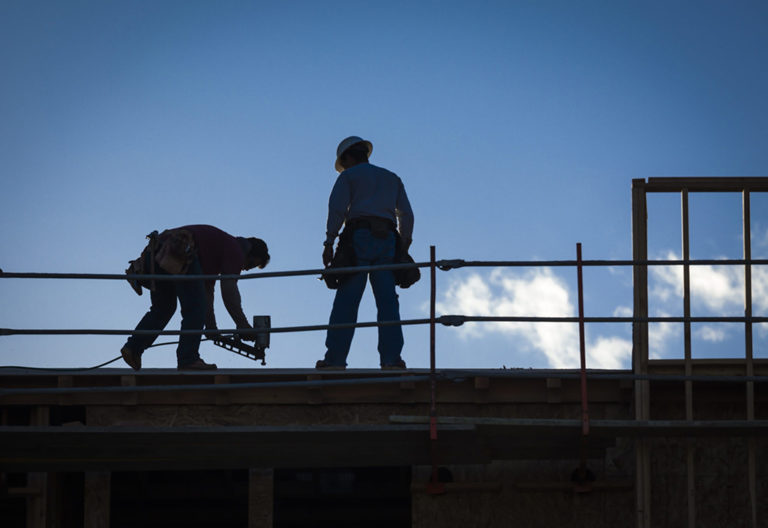
While hammers have been a roofer’s tool of choice for many years, there is now a new method of driving nails: pneumatic nail guns. These drive nails automatically when the roofer pulls the trigger, using pressurized air to force the nail down just the right amount. Yet, with these high‐tech tools available, some roofers still choose to use a roofing hammer. Why?
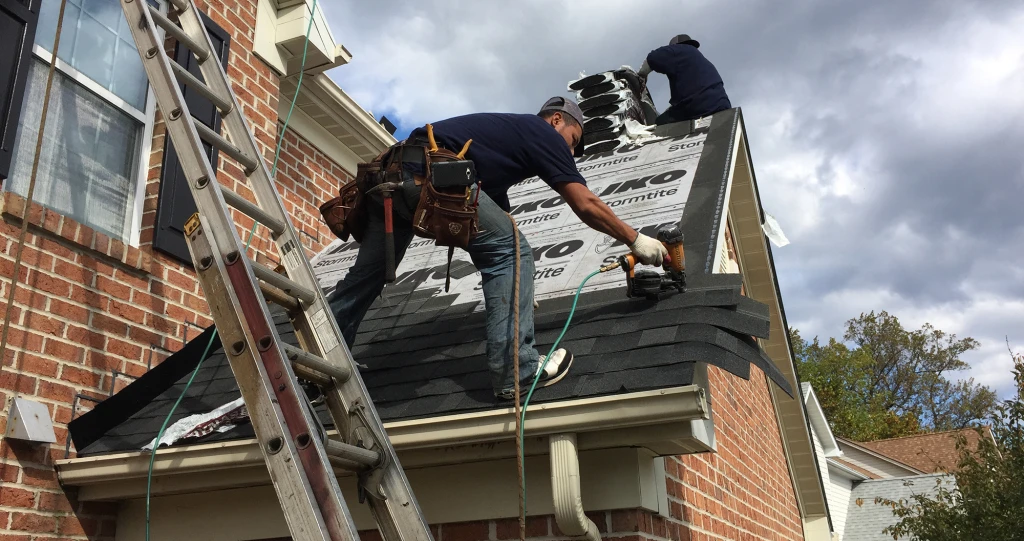
Far from being a tool of the past, shingle hammers still have advantages over nail guns. They have special features that hammer manufacturers have found room to improve upon in recent years. In this article, we’ll discuss the advantages and disadvantages of roofing hammers and tell you how to use them.
We’ll also compare roofing hammers and nail guns to help you choose which you’d prefer to work with. Choice of nailing tool is important to roofers because the proper nailing of a shingle is so critical to its function. Overdriven nails, or those whose head has punctured through the shingle, create opportunities for water to penetrate the roof. Underdriven nails do the same, by propping up the shingle above. This prevents the shingle from sealing properly and thereby makes it liable to blow off the roof.
Further, a nail that is placed in the wrong spot on the shingle may fail to secure the shingle to the roof at all, which may allow the shingle to fall off before its adhesive can be activated by the heat of the sun. Proper nailing truly makes the difference between a properly functioning roof and one with missing shingles and increased risk of leaks.
Parts of a Roofing Hammer
Before you can understand the advantages of roofing hammers, you need to know what separates them from framing hammers and other nail‐driving tools. The parts of a shingle hammer each have specific features designed just for working with asphalt shingles.
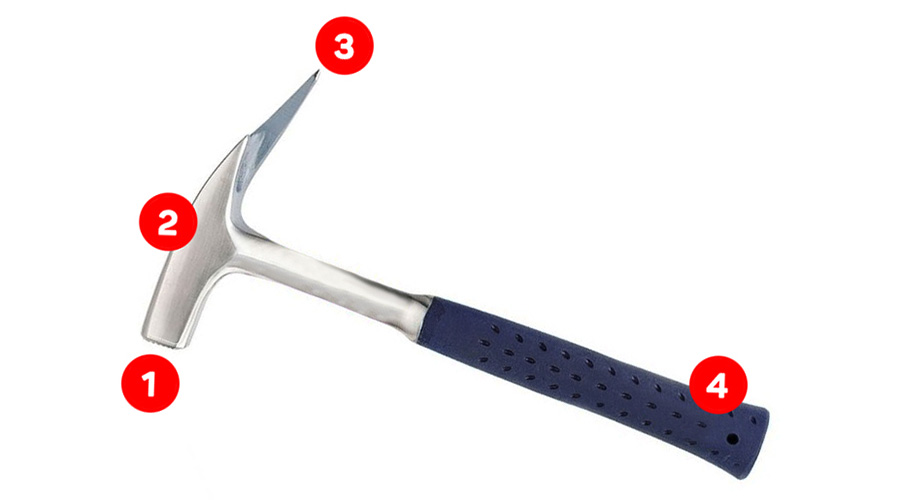
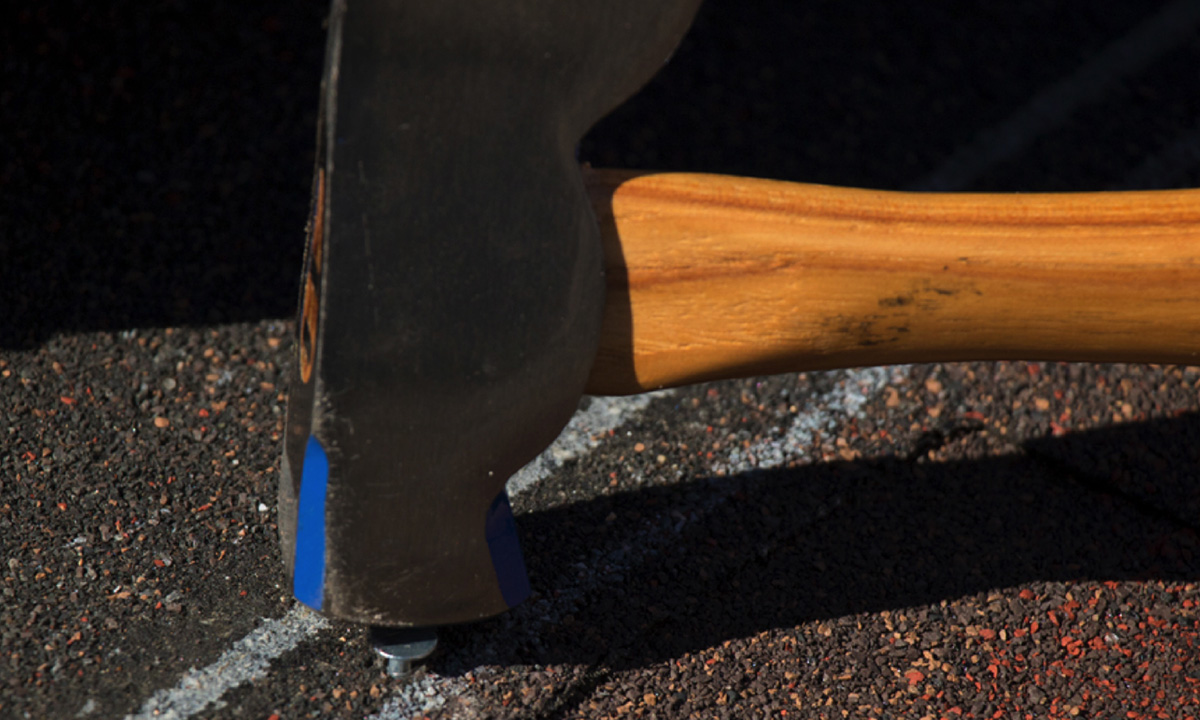
- Face: The face of a hammer is the tip that makes contact with the nail. They may also have a waffle-like texture, called a milled face or checkered face. This texture is meant to grip nails, preventing the hammer from bouncing or slipping off the nail at impact as the roofer works.
- Head: The head of a hammer is the topmost surface. Roofing hammers may have notches, holes or projections on their head to help the roofer place the shingles the right distance apart. This distance is called shingle exposure.
- Claw: The claw of a hammer is the back end. On other hammer types, this end may be used to lift nails. However, on roofing hammers, this end is also designed to help roofers lift shingles. On some roofing hammers, the claw is sharpened to a point so that it can be used to cut shingles to size. Other roofing hatchets have an edge for the same purpose.
- Handle: The handle is on the base of the tool. It may be sheathed in rubber for grip. It may be made of hickory, fiberglass, solid steel or tubular steel. Other materials may be used in order to reduce the impact of the hammer strike on your hand. This can make them easier to use for longer periods of time. Handles also differ in length. Heavier hammers will have shorter handles to make wielding them more comfortable, but, otherwise, you should choose a handle length that feels the best to you.
Features of a Roofing Hammer
Roofing hammers can accomplish tasks that other hammers can’t. In particular, a roofing hammer is designed to allow the roofer to cut, place and nail shingles, all in a single tool. The roofer cuts the shingle with the claw and then places the shingle with the use of the gauge on the head. In fact, some roofing hammers have an adjustable gauge on the head to help roofers achieve the correct shingle exposure. Once the shingle is placed, the magnetized face of the hammer helps the roofer hit the nail.
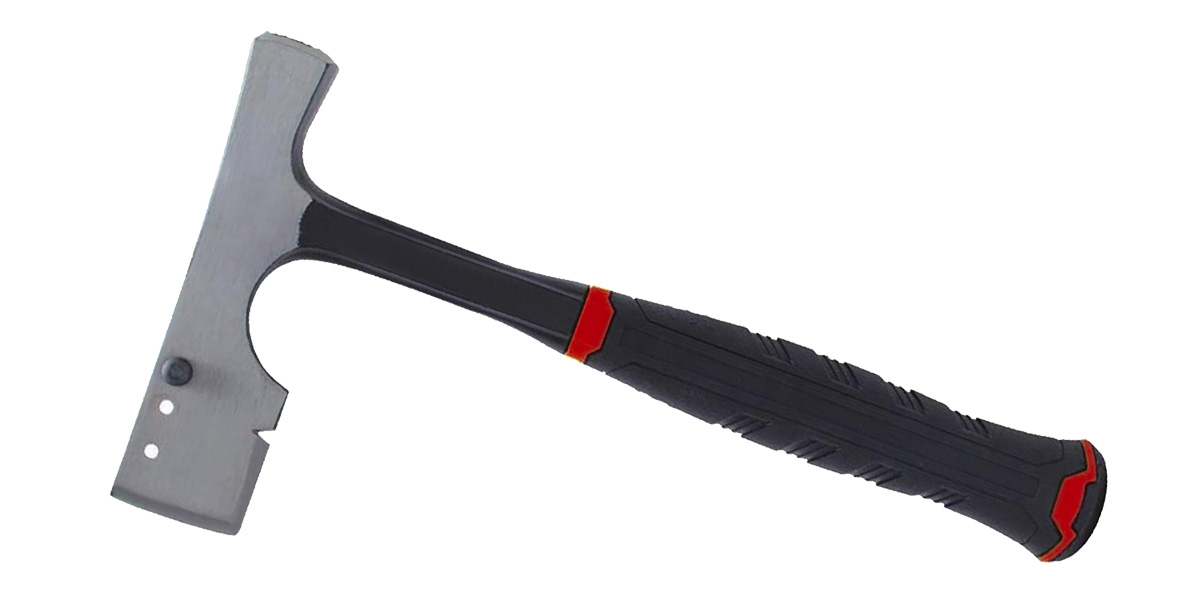
Those are the typical features of a magnetic head roofing hammer, but new designs have added even more functionality to these tools. These new features include:
- Nail holders: Some roofing hammers, such as Picard’s Carpenter’s roofing hammer, have a magnetic nail holder built‐in. This stabilizes the nail for you when you’re attempting to nail in an unusual spot that is almost out of your reach.
- Shock reducers: Many modern hammers are made of special materials to help reduce the vibration in the hammer, protecting your hand from the shock of hammering. Stiletto’s TiBone TBII‐15 hammer uses titanium for this purpose.
- Shingle removal tools: Other roofing hammers have new claw designs to help make shingle removal easier. In fact, the Cole‐Bar hammer has an extendable claw that becomes a pry bar.
- Metric gauges: As metric shingles have larger exposures, roofers installing these shingles may want to work with a roofing hammer with a larger gauge. AJC’s metric adjustable roofing hatchets come with gauges that work with shingle exposures at or over 5 and 5/8 inches .
Antique Roofing Hammers and Hatchets
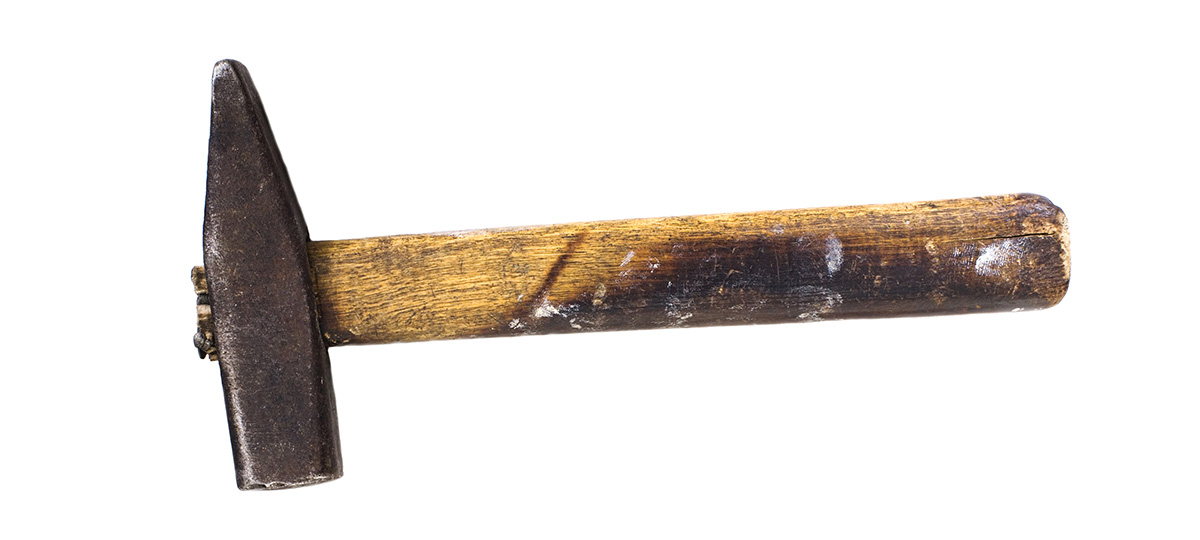
Some roofing professionals and collectors seek out antique roofing hammers. These often have square heads and are made from metals that were more popular in the past, such as brass and bronze. If you’ve found an antique hammer, be cautious, as these tools may no longer be up to the task of installing a roof.
How to Use a Roofing Hammer
This basic outline will tell you how to use a roofing hammer so that you’re taking advantage of all of its special features:
- Step One: Cut the shingle to size with the claw of the hammer. Using a straight edge as a guide, mark a line along the shingle with chalk where you’d like to make the cut. Use the claw of the hammer to score the shingle.
- Step Two: The hammer will not cut all of the way through the shingle. To finish the cut, bend the shingle along the line until it snaps apart. If you’re using a laminate shingle, this also may not be enough; in which case, you’ll need to use a roofer’s hook blade knife.
- Step Three: Use the shingle guide on the head of the hammer to help you position the shingle. Assuming you have adjusted the hatchet’s gauge to the correct exposure, you may hook the hammer onto the exposed edge of the shingle you just laid. Place the lower edge of your next shingle onto the hammer’s face.
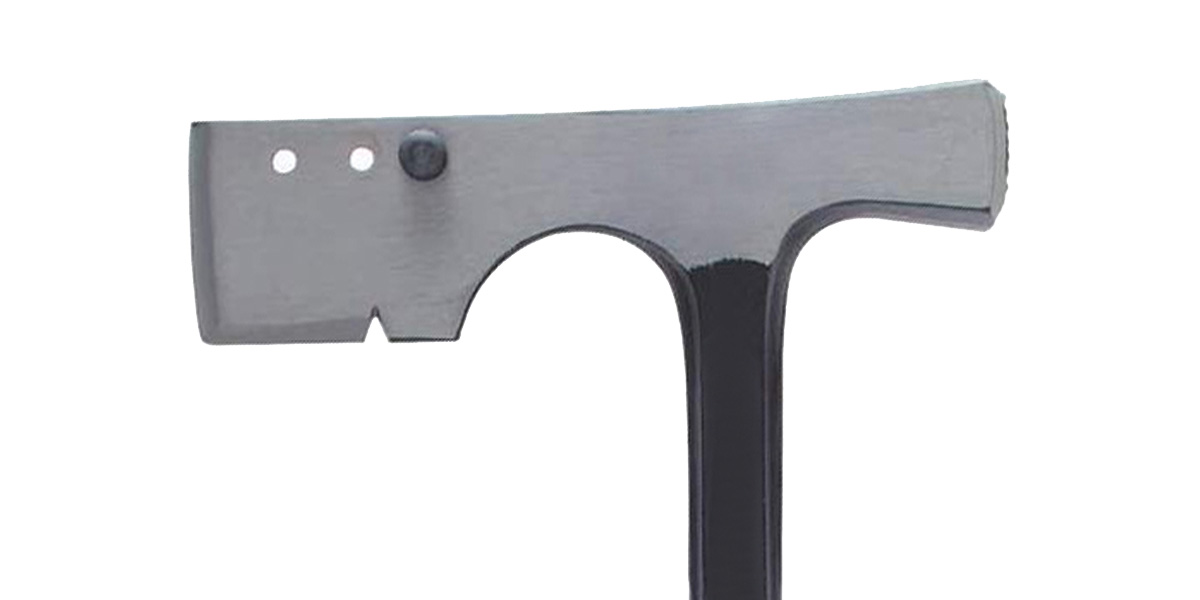
- Step Four: Drive nails into the loose shingle, along the nail line or in the nailing zone. Always check with your manufacturer’s application instructions to ensure you use the correct number of nails.
- Step Five: Ensure that you do not over- or underdrive your nails.
You can also use a shingle hatchet when you’re doing a repair or reroofing job and need to remove old or damaged shingles. By sliding the claw of the hammer beneath a shingle, you can use leverage to pry it up. However, most professional roofers will use a wonder-bar for this purpose, which is a thin crow bar. Another option is the Cole‐Bar hammer, which has an extendable claw that turns into a crowbar.
Roofing Hammer Versus Nail Gun
All roofing manufacturers approve of the use of hammers or nail guns when installing their shingles. Therefore, the choice between the two tools is left to the professional roofer. There are advantages and disadvantages of both tools that you will want to consider.

The Advantages of Roofing Hammers
- Sensory feedback: When you use a roofing hammer, you can feel in your hand when the nail strikes the wood of the roof’s decking. This allows you to be sure the nail is properly secured. A roofing gun does not give you this sensory feedback.
- Nail placement: A skilled roofer can be very precise with a hatchet and get the perfect nail placement and depth, though the same is possible with a nail gun. Hand nailing helps prevent over-driven nails, which is common with improperly set nail guns.
- Shingle placement: The gauges on roofing hammers may make it easier to get the right shingle exposure, which is also critical to the roof’s installation. Though they are less common, you can find nail guns with roofing gauges.
- Low maintenance: Unlike a nail gun, a magnetic shingle hatchet does not need maintenance, except perhaps protection from rust.
- Marketing advantage: Roofing hammers are making a bit of a comeback, especially in high‐end markets and in climates with high winds, because consumers are learning that nail placement is key to their roof’s longevity and limited warranty. If you can install your roofs with only hammers, you may be able to include that in your marketing and attract customers who are looking for quality work.
The Disadvantages of Roofing Hammers
- Time: While some veteran hand-nailers may disagree, you’ll spend more time applying shingles with a hammer than a nail gun. Hammers also tire out your arm, which can slow you down even more. This can increase labor costs and increase the time it takes you to complete each job.
- Teaching: When you bring on new roofers, it will take longer to teach them to use a roofing hammer. It may take a month or two for them to be precise and confident with a hammer, while it may only take them two days to perform the same job with a nail gun. Though, some argue the opposite. A nail gun may allow for more serious mistakes because it is so powerful, while most people have used a hammer before.
- Weight: Roofing hammers come in different weights. The lightest hammers, at 14 ounces and 16 ounces, take more force to drive the nail, while the heaviest hammers, at 22 ounces and 28 ounces, move the nail quickly, but tire out your arm. Only you can decide which weight is right for your needs.

The Advantages of Nail Guns
- Speed: Nail guns are faster and don’t tire out your arm the way hammers do. If keeping installation costs low for your customers is a top priority, nail guns may help you achieve that.
- Utility knives: If you’re not using a roofing hammer to cut your shingles, you may use a utility knife to cut your shingles. Shingles at the start and end of rows, as well as hip and ridge shingles, all need to be cut so the speed of your cut will be important. A utility knife is faster because it can cut entirely through the shingle, while most hammers’ claws cannot. On the other hand, you can always use a utility knife along with a hammer.
- Consistency: Inexperienced roofers can drive nails more consistently with nail guns and will learn to do this faster than they would with a roofing hammer. Though, inexperienced roofers may not adjust their nail gun for areas with thicker decking (e.g., over trusses), which can result in inconsistent nail depth.
Disadvantages of Nail Guns
- Maintenance: Nail guns are more complicated tools than hammers and require maintenance and may require repair.
- Potential for error: Nail guns use pressure to drive the nail. You will need to adjust the gun’s compressor in different temperatures, as the manufacturer outlines. However, forgetting to do so may cause you to under- or overdrive the nails. In fact, a nail gun is capable of blow‐through, where the nail head rips all of the way through the shingle. Further, you have to ensure that you position the nail gun exactly 90 degrees against the roof surface. With all of these variables, it’s no surprise that nail guns can lead to error in shingle application.
- Weight: Nail guns are bulky, and some models are much heavier than others, usually because they hold more nails. This weight can make them tiring to use and awkward to haul around a rooftop.
The Importance of Proper Nailing
In the end, it is the roofer’s accuracy and timing that matters most; so whichever tool helps a specific roofer achieve his best accuracy with the most efficiency when driving nails is the best tool for him. Still, neither homeowners nor roofers should necessarily dismiss roofing hammers as the tools of the past. They have advantages and can be used with great precision. If you’re looking for a roofer who specializes in precise, high‐quality repairs on installation using roofing hammers, you can find one through our Contractor Locator.

